Get Extra $10 Instantly Sent To You Upon Shipping Your Device! VIEW DETAILS
How to Take Professional Photos With Your Smartphone (Beginner to Pro Guide)

How to Take Professional Photos With Your Smartphone (Beginner to Pro Guide)

How To Take Professional-Quality Shots With Your Smartphone

Smartphone Photography Guide

Most people blame their phone when their photos look bad. But 9 times out of 10, it’s not the phone; it’s the technique. In reality, with just your phone (flagship or not), you already have all it takes to capture not just nice shots but professional-level images.

Gone are the days of needing an expensive camera to take professional photos; your phone’s all you need. In fact, I know a professional photographer who takes amazing pictures at events with his iPhone (he shared a few tips for this article 😉).

So in today's article, I'll walk you through how to take professional-looking photos using just your phone. No flagship required, though it certainly helps.

Before You Shoot: Preparing for Better Photos

If you want to take professional, above-average shots on your phone, then you have to do some preparation.


Clean Your Lens (Non-Negotiable)

Your phone spends a lot of its time in your pocket, so the lint in your pocket plus the fabric can stain or leave smudges on your phone’s camera lens, making it harder to take pictures effectively.

To fix that, pack a small microfiber cloth with you to clean the lens when you are getting ready to take a shot.

Just Your Camera Settings

If a clean photo is what you desire, here are some adjustments to make your shots professional:

  • Turn off unnecessary filters. They can affect how good your photos look, so no Snapchat for this one.
  • Enable gridlines. This will help you with the proper composition and proportion of your subject for the best results.
  • Check resolution settings. Sometimes your phone's default settings aren't the highest to save storage. So check the resolution before you start taking shots. Higher resolution = the clearest pictures.

HDR Tips: When to Use & Skip

Use HDR Skip HDR
  • Scenes or landscapes with high contrast
  • Subjects with their backs turned to the light
  • Sunrises and sunsets
  • Under harsh sunlight
  • Fast-moving subjects
  • Low light / night shots
  • High-contrast scenes where contrast is desired:
    Avoid for dramatic silhouettes.

Stabilize Your Phone: Step-by-Step

1
Use a tripod: Your best option for perfect stability even a cheap one works.
2
Two hands hold: Use both hands to hold the phone when taking photos
3
Lean against a wall: Lean against a wall to provide you with balance.
4
Rest elbows: Rest your elbows on a surface so you get support.

Understanding Light: The #1 Factor in Professional Photos

The one key ingredient that is needed when you are taking photos is good lighting. So unless you are purposefully trying to achieve something specific like an effect, then aim to get the best lighting possible at all times.

Below, we’ll break down the rules and techniques for using light effectively in your smartphone photography:

Use Natural Light Whenever Possible:

Tips
  • Face the light source. Don't have your subject's back to the light source to avoid shadows and get a clearer shot.
  • Shoot near windows indoors. This allows you to get the most out of the light from the window.
  • Avoid harsh midday sun. Take photos earlier or later in the day when the light is softer.
Mistakes


Here are some bad lighting habits you should avoid if you want to get the most out of your smartphone camera.

  • Don’t shoot with light directly behind your subject (unless it's an intentional silhouette).
  • Avoid overhead indoor lighting that creates shadows.
Smartphone photography during golden hour showing warm, soft, cinematic sunlight

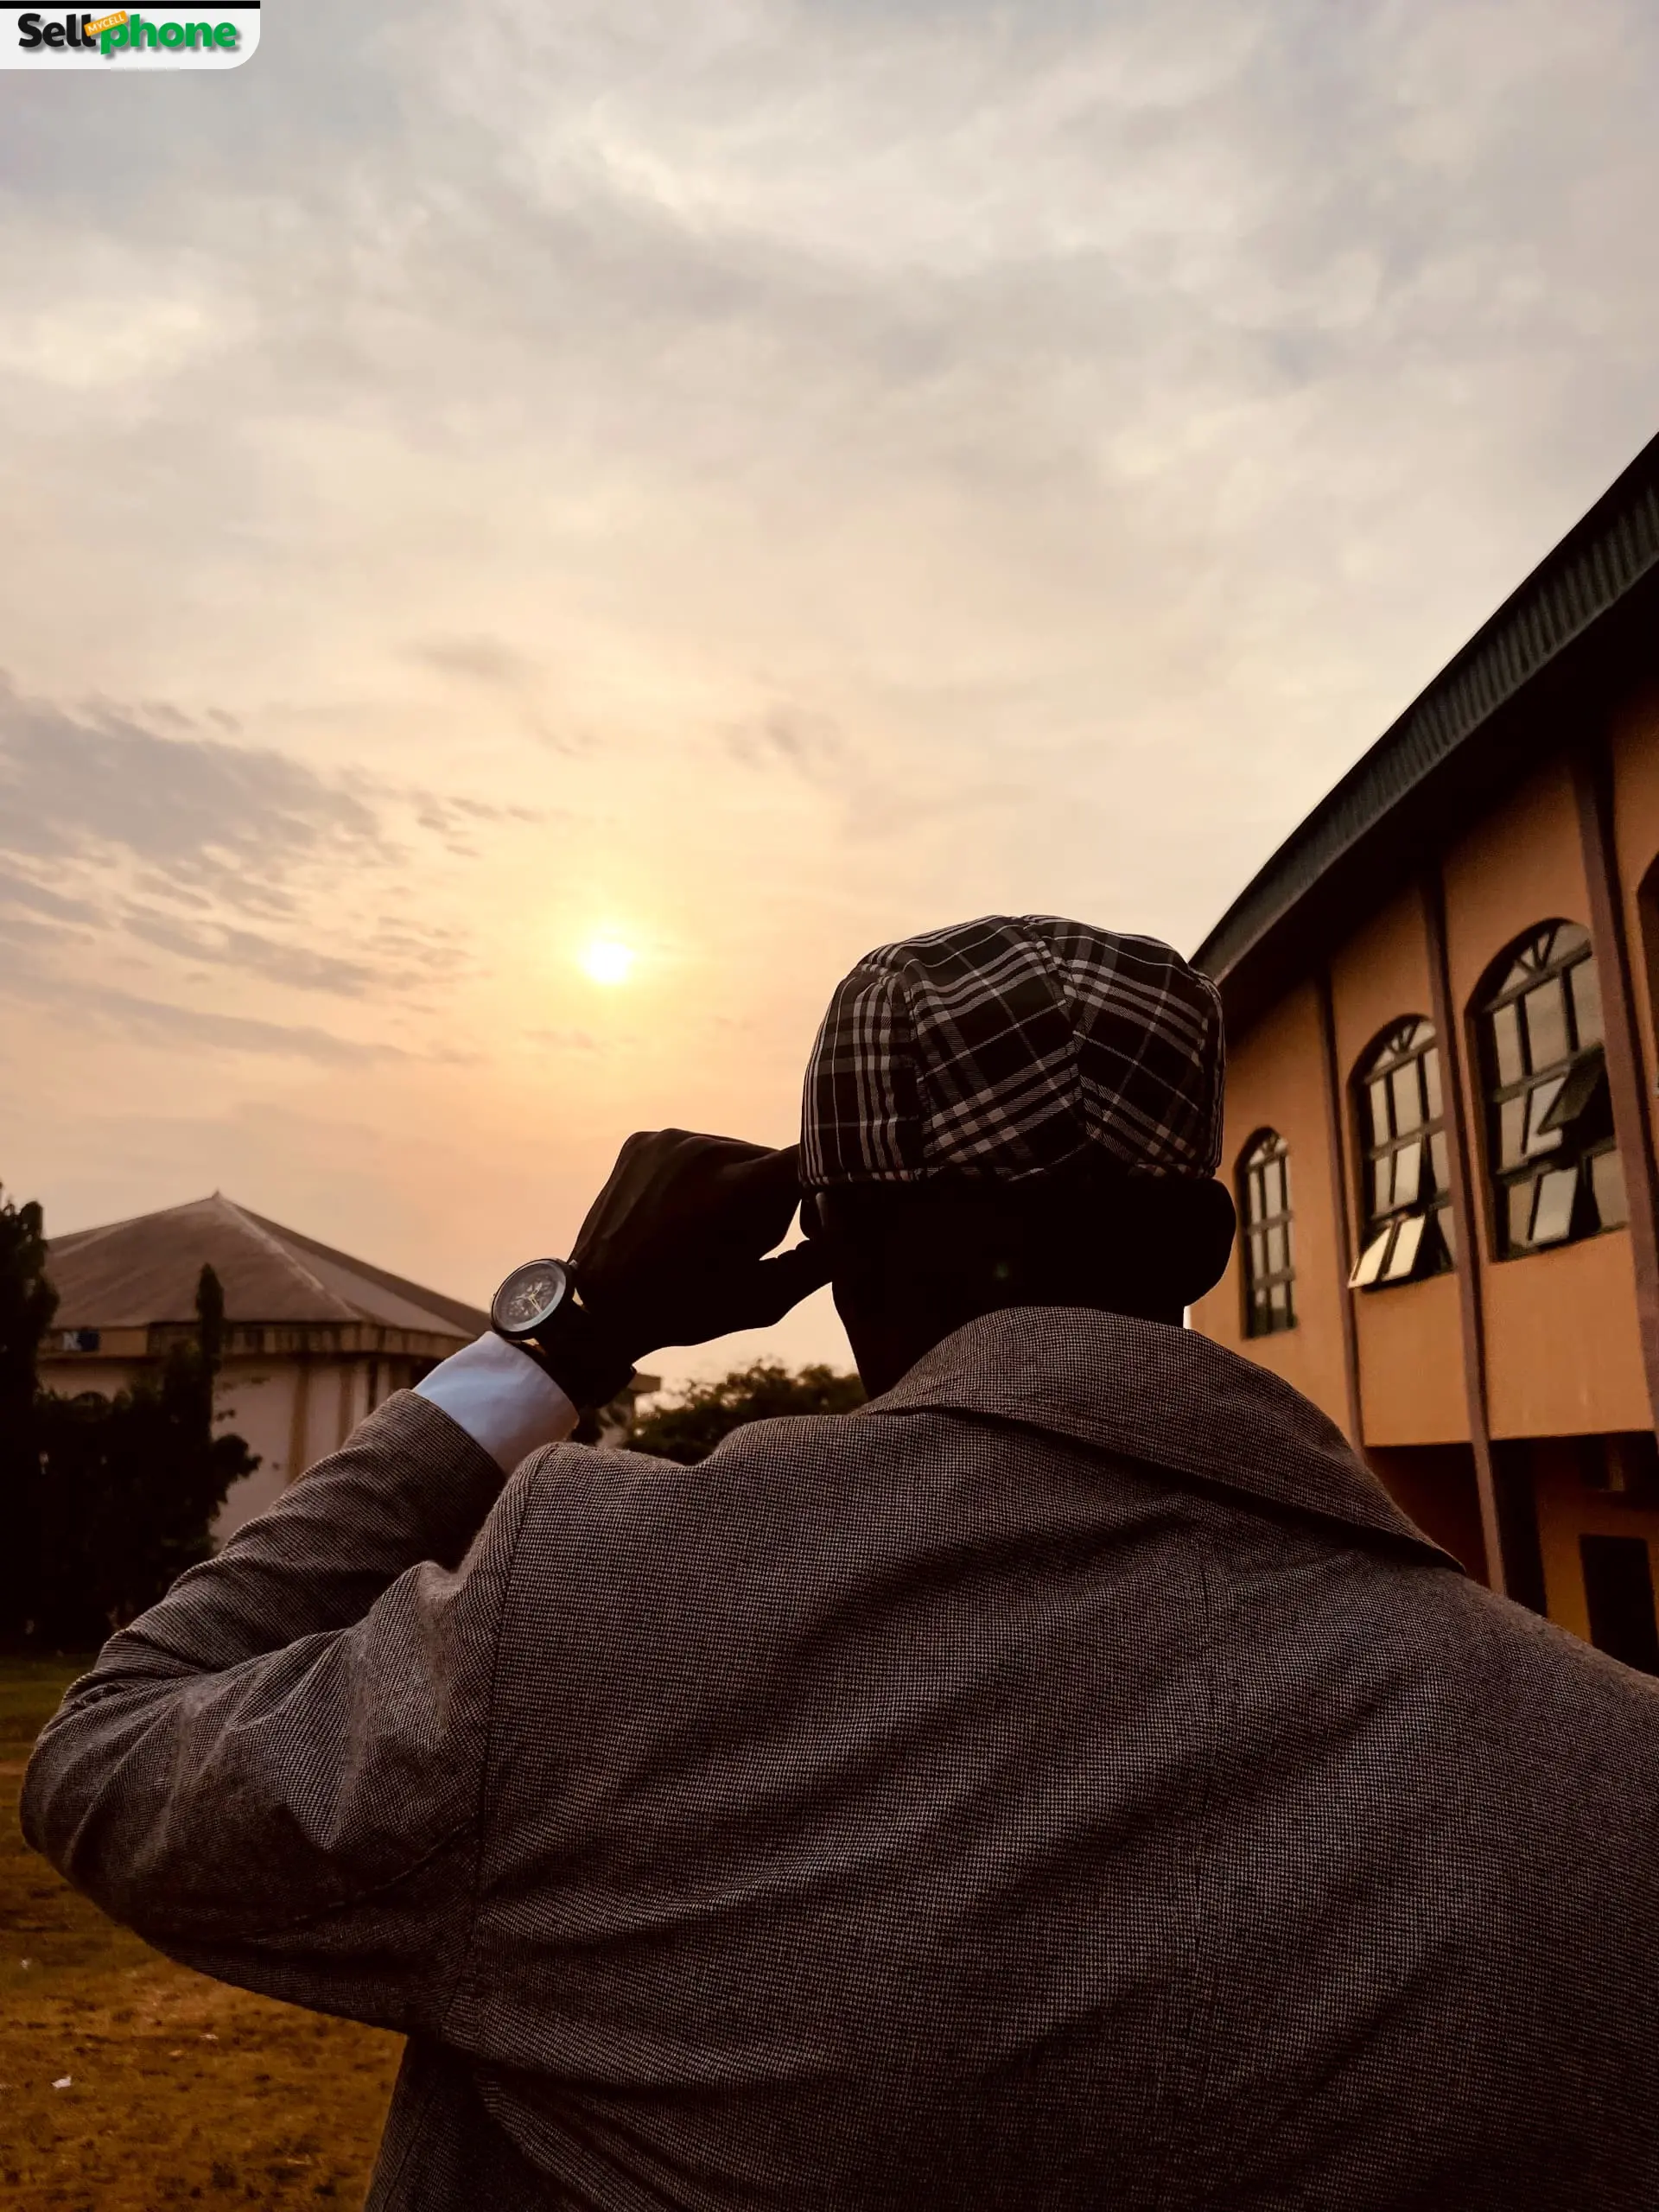
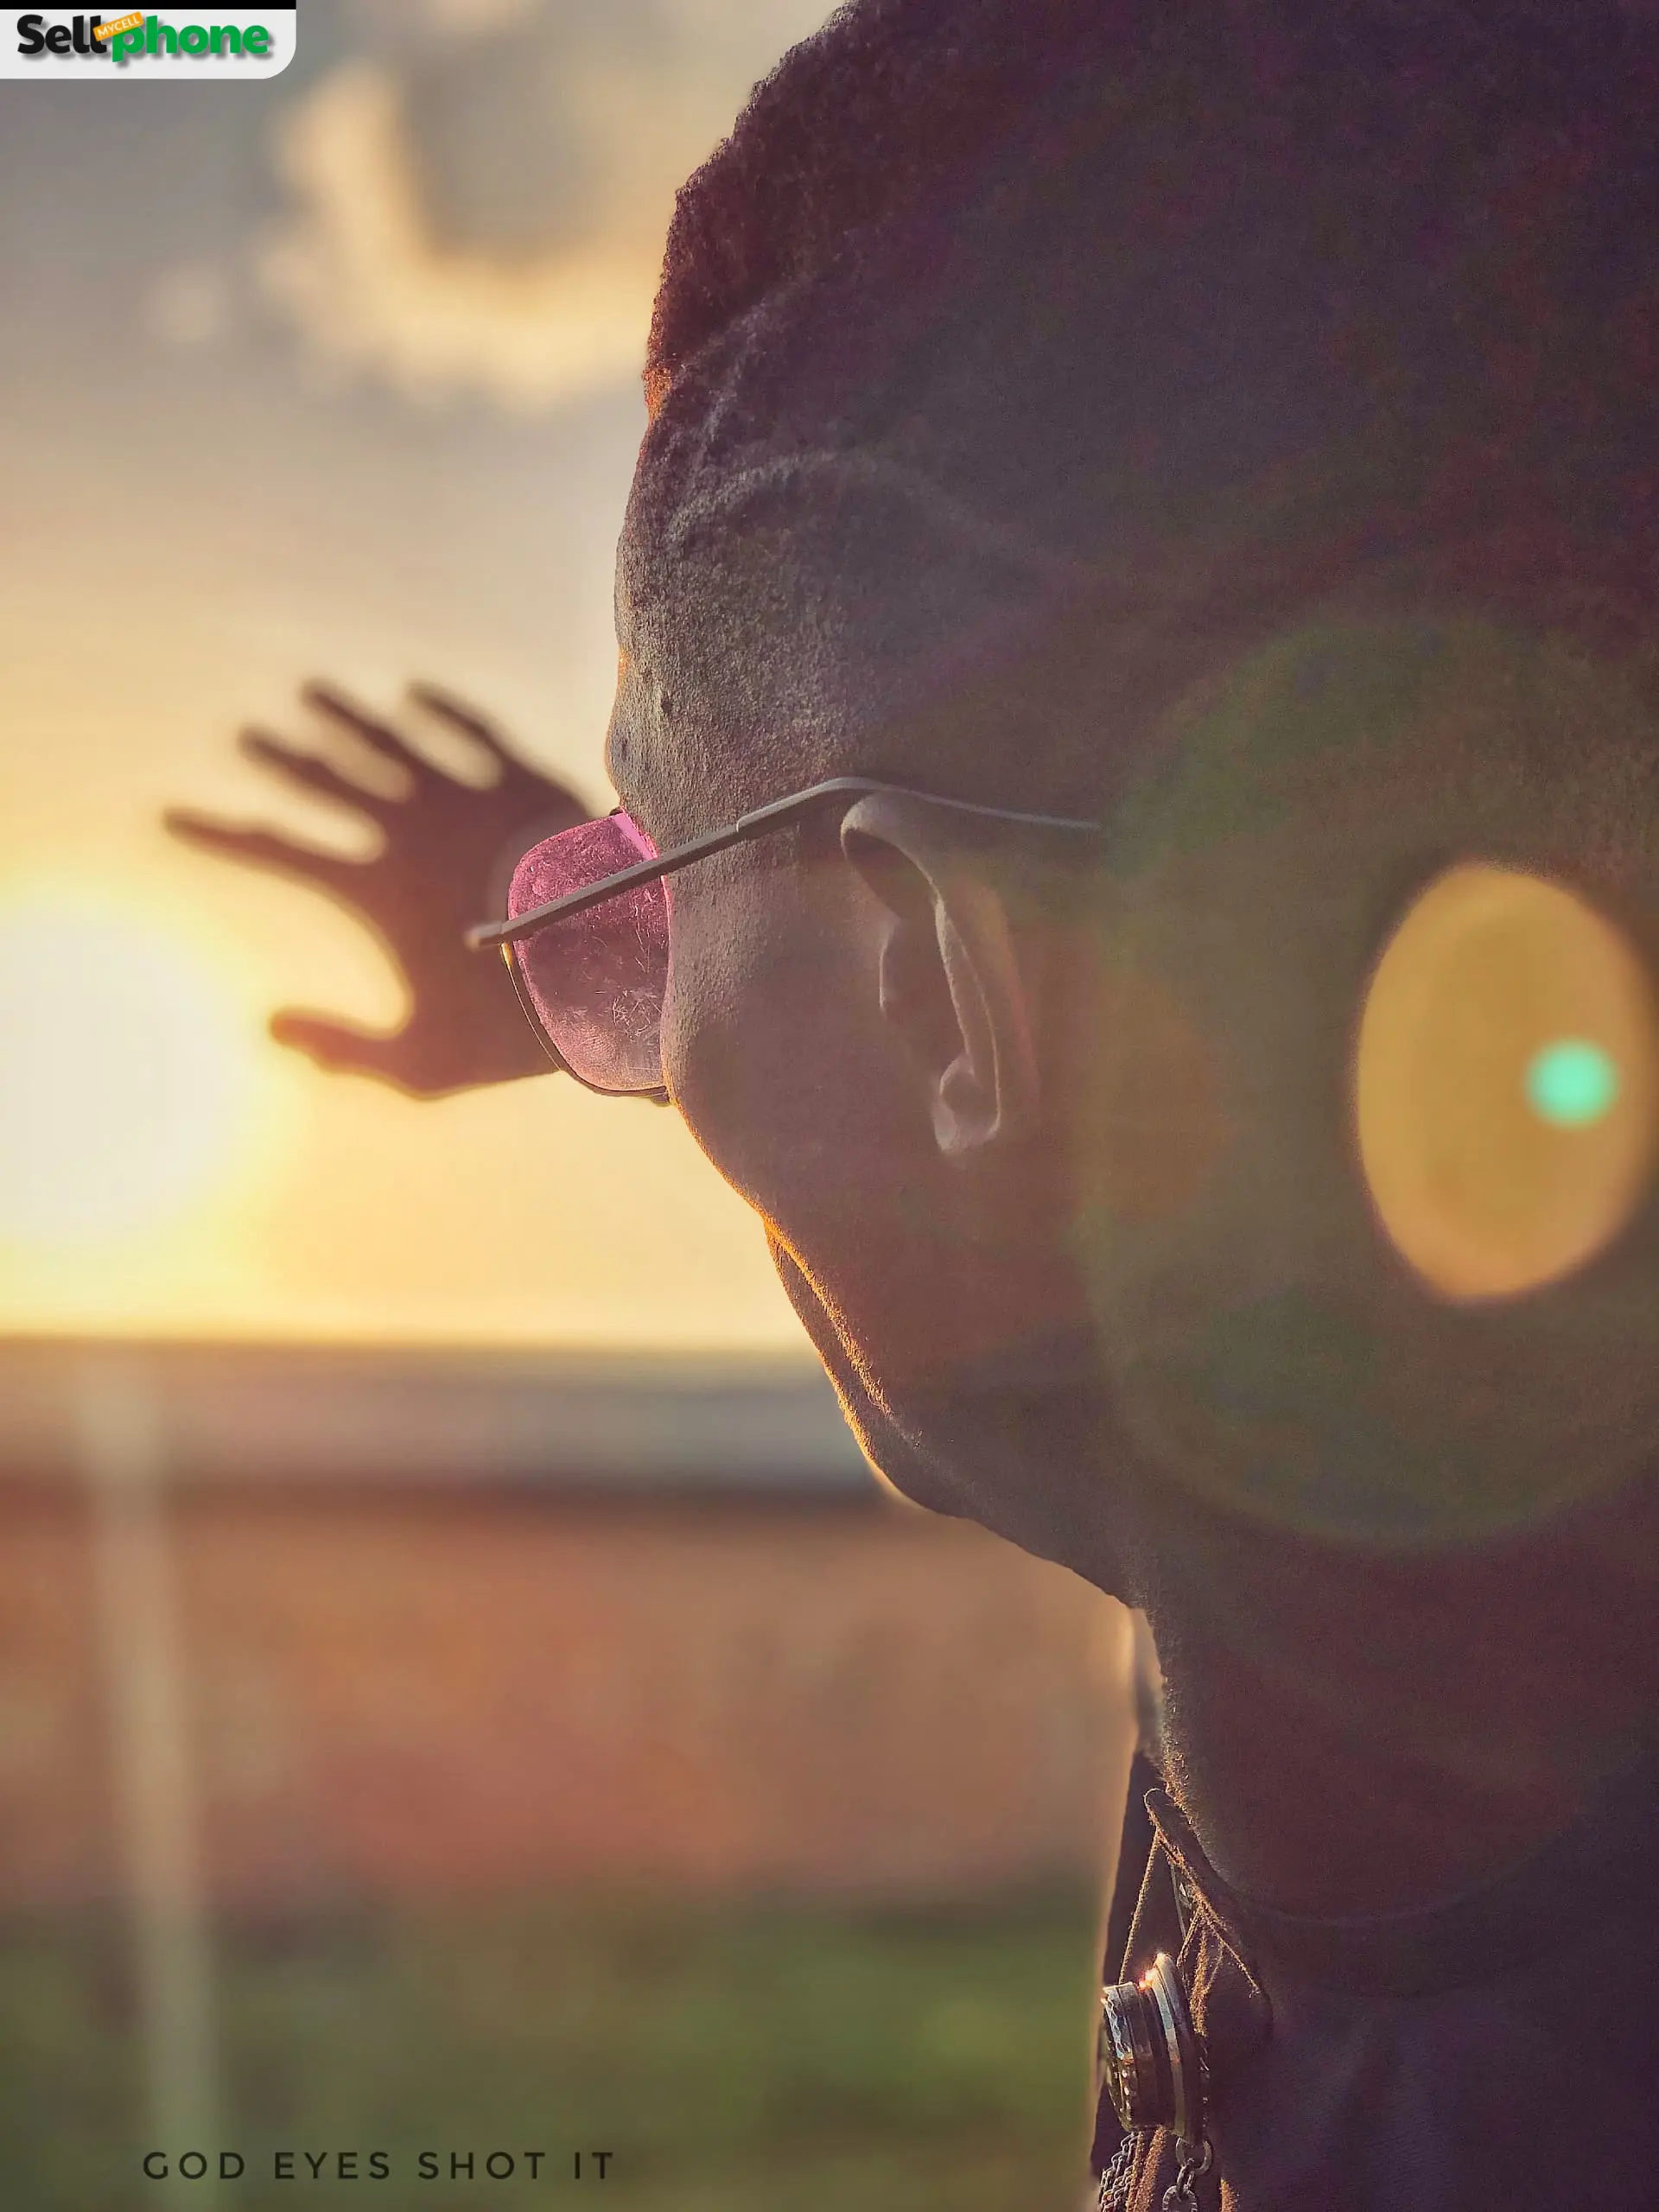
Golden Hour Advantage

  • 1 Golden Hour is just after sunrise or before sunset — magical soft light.
  • 2 Creates dreamy, warm, low-contrast lighting perfect for cinematic photos.
  • 3 No extra equipment needed — simply leverage natural light for professional results.
Smartphone photography using artificial lighting with LED panel
 

💡        Using Artificial Light                    Smartly

  •            Position your light at a 45° angle to create soft,               natural shadows.
  •         Use a single dominant light source to avoid                 unnatural color casts.
  •     Consider small LED panels or ring lights for better   control indoors.
  •   If too many lights are required, change your location or wait for better light.

  If you find yourself needing too many artificial lights to make a scene work, that's usually a sign to either find a better location or wait for better light. Forcing a shot in bad lighting rarely ends well.

Composition Basics: How to Frame Like a Pro:

 
1

       Rule of Thirds

To make use of this, you will need to have the gridlines on. The vertical and horizontal lines on the camera divide the screen into 3x3 boxes. To make use of the rule of thirds, you will need to place the subject or subjects of the photo along the horizontal lines or where they intersect. This off-center effect makes for proper distribution and helps make your photos look more professional as well.

2

      Leading Lines

These are the naturally occurring or man-made lines that can be found in your photos. They could be anything from roads to railings, hallways, or even fences. If you have these in your frame, then you can use them to direct the eyes and draw the attention of the viewer towards the subject or main thing that you are trying to capture. It helps create a sense of depth, so you are better off allowing the lines to start from the bottom of the frame and lead up towards the top.

3

      Framing

This is yet another tip that can help you upgrade your photos. Framing is creating visual borders in your photos to help you properly frame your subject and make for a more cinematic feel. You could easily do this by having your subject stand in front of a door and taking shots through windows, trees, or even archways.

4

      Negative Space:

Think of negative space as a way of letting your subject breathe. Negative spacing can be done by creating a clear area surrounding your subject. This technique works by helping declutter the photo and allowing the eyes of the viewer to rest solely on the subject that's being captured. To do this, you simply need to pick out a background that is simple and not distracting. A plain wall or the clear sky would work well for this, but it isn't limited to that. Just keep an open mind when you apply this technique.

5

Change Your Angle

Don't always shoot at eye level. Some of the most striking photos ever taken owe their appeal to an unexpected or unique angle. So try out some new angles and see what you come up with. Try turning your phone upside down when taking the shot. Move around and take different shots so you start to develop a sense of what works best for you and for your subject as well. Try low angles, high angles, and moving your body instead of zooming in for a change.

Creative smartphone photography angles for unique perspectives


Rule of Thirds

This off-center effect makes for proper distribution and helps make your photos look more professional as well.

Mastering Focus and Exposure

It seems like a step that’s too simple, yet it’s too often ignored. To put it simply, always ensure you tap to focus. Your phone is designed to autofocus on a subject placed in front of it, but that won’t always cut it.

So let's talk about all you need to know when it comes to focus and exposure:

Tip Details
Tap to Focus Your phone's autofocus is constantly changing as you move, and while it's usually good, it's not always the best you can get out of it. Tap on your subject to adjust distance and exposure for optimal focus.
Lock Exposure Your phone's autofocus is constantly changing as you move, and while it's usually good, it's not always the best you can get out of it. Take a moment to tap on your subject to have the camera adjust to match the distance and exposure that would be most appropriate for your subject. We also recommend that you lock your exposure. You can do this by holding on to the screen to ensure that you have photos that are more consistent and well-focused.
Adjust Exposure Manually Sometimes when using your device to take photos, the exposure is usually too high. To fix that, after locking your focus, slide the brightness up and down to check what will be best suited for your photo. A general rule of thumb is to slightly reduce the exposure whenever you are taking a photo. This will help you avoid blown-out skies and have pictures that look more realistic and professional.
Depth Effect / Portrait Mode

Portrait mode has to be one of the best features to come with any smartphone camera. The feature blurs out things aside from the subject, creating a new sense of depth and helping to direct the attention to the subject in question. You're better off using this when you are taking pictures of a subject that is close to you.

 This is mainly because portrait mode only works when the subject is within a certain range. It is advisable that you don't increase the blur too much so it doesn't end up looking unrealistic.


Zoom, Lenses, and Camera Modes


Avoid Digital Zoom

Many phones, especially flagships, advertise two kinds of zoom: optical zoom and digital zoom. Optical zoom is when the camera lens itself moves to bring the subject closer. This method doesn’t lose image data, preserving full resolution and clarity. Digital zoom, on the other hand, is essentially the camera just cropping and enlarging the image, stretching it to fill the frame. Meaning the more you zoom, the more image quality degrades.

To take professional photos, always zoom with your feet when possible. If you can't get closer, use the highest optical zoom your phone supports and stop there. Avoid pushing into digital zoom territory unless you have no other option.

Zoom with your feet when possible. If you can't get closer, use the highest optical zoom. Avoid digital zoom unless necessary.


Use Built-in Lenses Properly

Most smartphones have ultrawide, standard, and telephoto lenses, each serving a purpose.

  • Ultrawide: Landscapes, architecture, tight spaces.
  • Standard: Everyday shots, street photography, highest quality.
  • Telephoto: Distant subjects, portraits; compresses features naturally.

Ultrawide may cause edge distortion. Standard lens is safest for clean, high-quality results.


Night Mode and When to Use It

Aside from the obvious use of night mode at night, there are a couple of situations where night mode is still useful.

Night mode can be useful for keeping your phone steady, especially in situations of low lighting. This usually helps you to retain more quality despite the lack of proper lighting.

Nonetheless, this is only your phone's attempt to cope with subpar situations, so ensure that you keep your phone steady and avoid moving subjects.


Burst Mode for Action Shots

Using burst mode on smartphone to capture action shots

Taking burst shots is another feature you should take advantage of, especially when taking pictures of moving objects.

Whether it is a person running or a moving car, burst shots help you capture the entire sequence and then choose the best frame later with little to no loss in quality.


🖌️

Editing Tips at a Glance

Simple Editing Tips That Elevate Your Photos

Even for professionals shooting with high-end DSLRs, capturing the shot is only half the battle; editing carries the rest of the weight. The same is true for mobile photography, though thanks to advances in computational photography, modern smartphones do a lot of the heavy lifting straight out of the camera, meaning less editing is needed.

Keep Edits Natural

The goal of editing isn't to transform your photo into something unrecognizable, it's to bring out the best version of what you already captured. A good rule of thumb is that if someone can immediately tell your photo has been heavily edited, you've probably gone too far.

With that in mind, avoid over-saturating your colors, as it makes photos look artificial and garish. Similarly, steer clear of heavy filters that completely alter the mood and tone of the image. Light, subtle adjustments will almost always produce more professional-looking results.

Adjust These Settings First

Start with these core adjustments to make your photos look polished and professional before anything else.

☀️

Brightness

Get your overall exposure to a natural level before touching anything else.

Contrast

Adjust to add depth between light and dark areas, but don't overdo it.

🌤️

Highlights & Shadows

Recover bright areas and reveal detail in darker parts of the image.

🔍

Sharpness

Apply sparingly; too much makes photos grainy and unnatural.

 
✂️

Crop for Better Composition

Cropping is one of the most underrated editing tools available. Use it to reframe your shot and fix what you couldn't control at the time of shooting:

  • Straighten your horizon: A tilted horizon is one of the most distracting things in a photo and an easy fix.
  • Remove distractions: Crop out anything at the edges of the frame that pulls attention away from your subject.
  • Recompose using the rule of thirds: If your subject ended up too centered, cropping can help you reframe it into a more visually interesting position.
 
📱

Recommended Free Editing Apps

If you would prefer to edit your photos outside the inbuilt photo editor, then you need an editing app. If that's what you need, then here is a short list of some recommended editing apps that you should use:

  • Lightroom Mobile
  • Canva
  • Snapseed
Common photography mistakes illustration

Common Mistakes to Avoid When Taking Photos

  • • Shooting with a dirty lens: Wipe your lens before every shoot to avoid hazy or soft photos.
  • • Relying too heavily on your flash: Only use flash as a last resort; prefer natural light.
  • • Zooming in digitally: Move closer instead of using digital zoom to preserve image quality.
  • • Over-editing: Avoid heavy filters, high saturation, and aggressive sharpening.
  • • Shooting in the wrong mode: Ensure portrait, night, or auto mode fits the scene before capturing.
  • • Not taking enough shots: Take multiple photos to ensure you get the perfect frame.
  • • Ignoring the background: Check for clutter or distractions behind your subject before shooting.


The Phone Was Never the Problem

Great photography has never been about the gear; it’s about the eye behind the camera. The difference between a mediocre shot and a professional-looking one comes down to light, composition, and intention. Apply these tips consistently and watch your photos improve immediately.

Just like photography, the value of your phone is in how you use it. At SellMyCellphone, the #1 trusted phone buyback service in the US, we help you get top dollar for your device safely and instantly. Upgrade, trade-in, or sell your phone with confidence!

🏆

SellMyCellphone – trusted by thousands of U.S. sellers — backed by our Best Price Guarantee